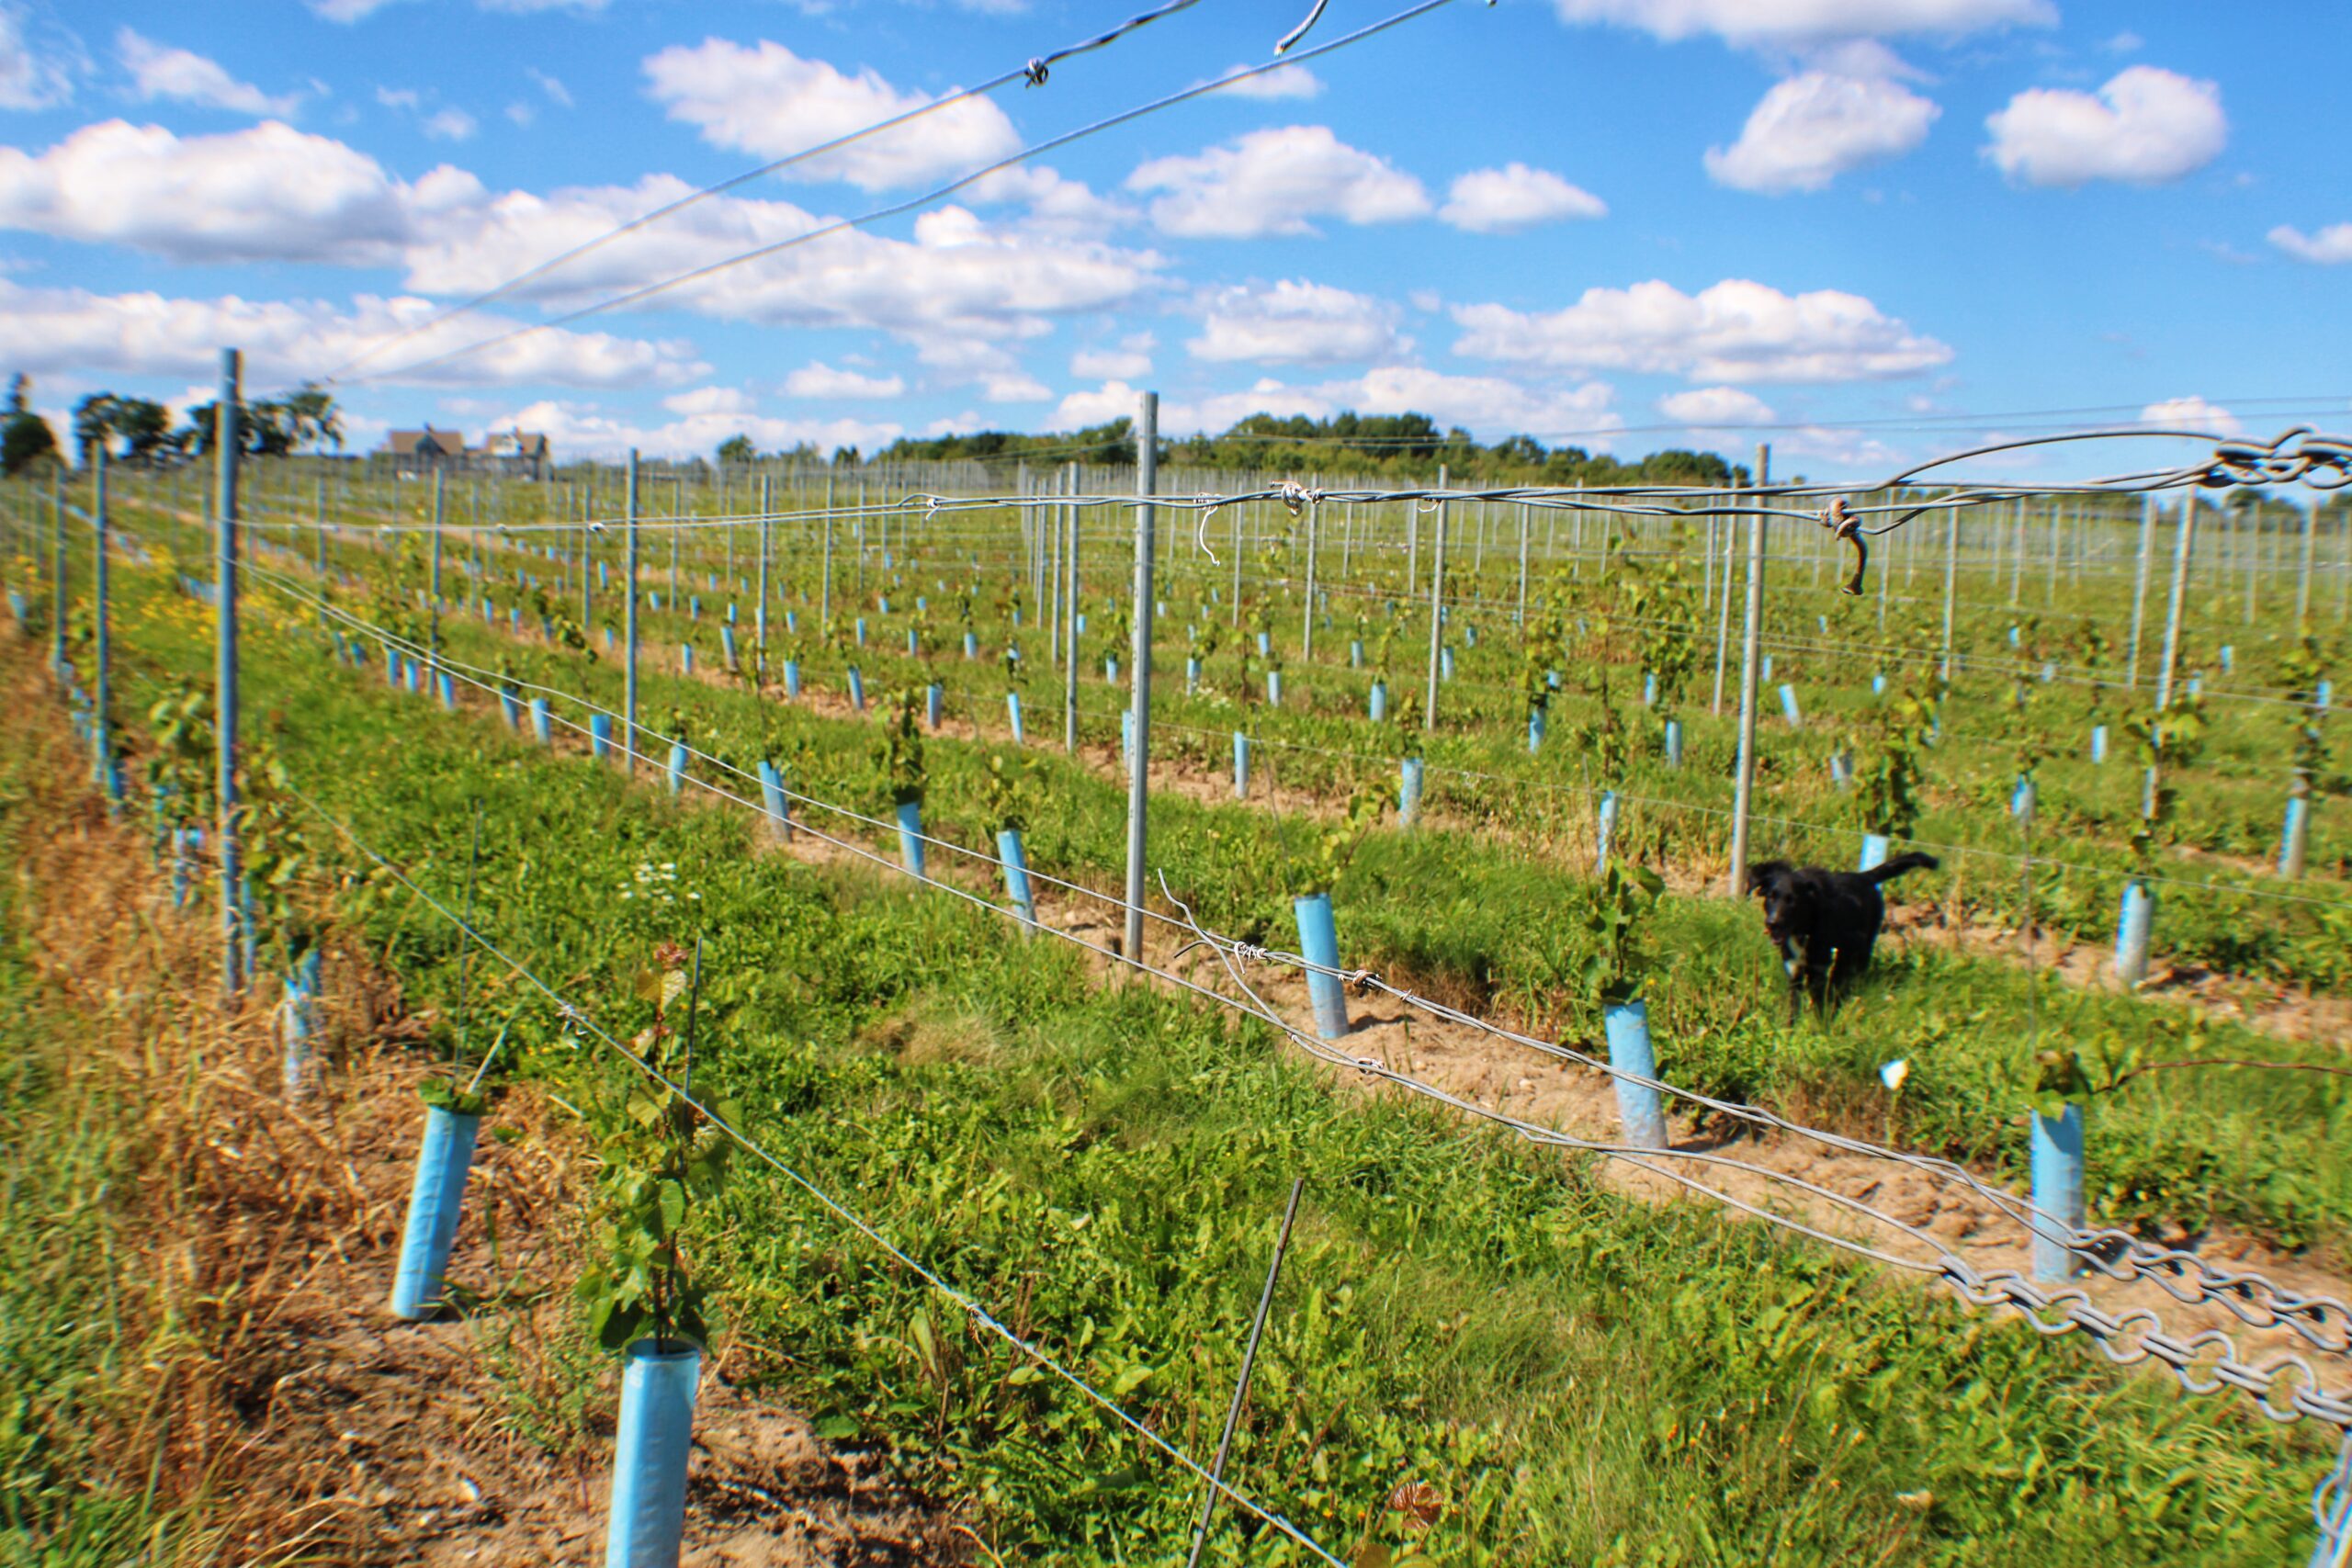
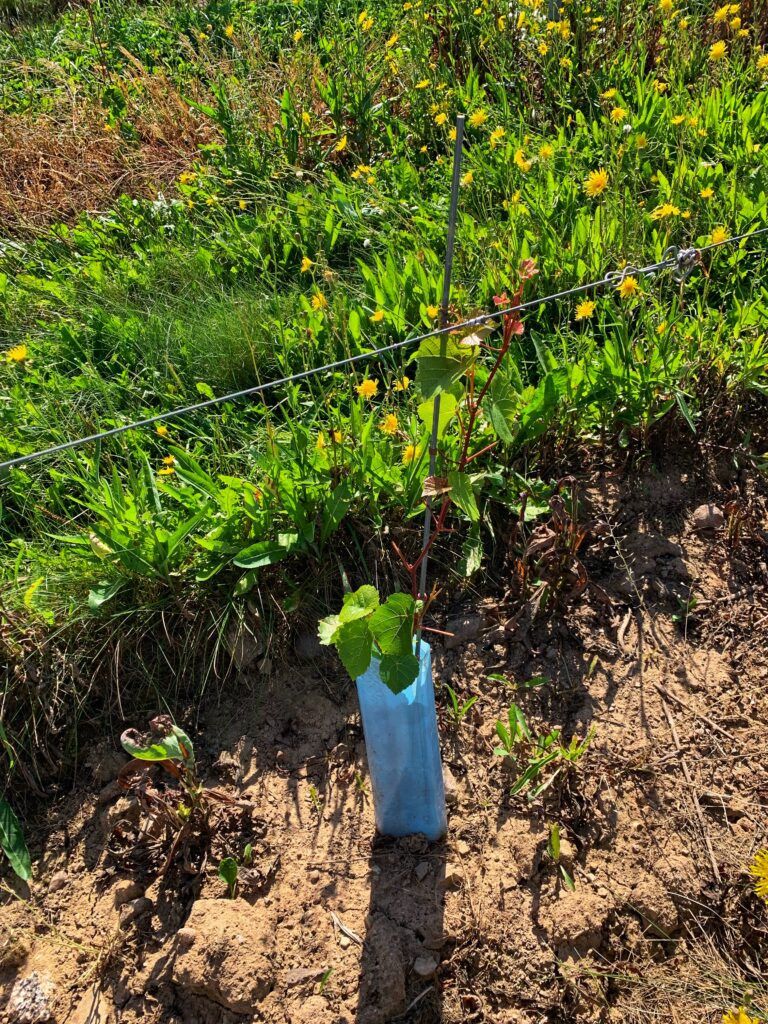
At Mumana Vineyards, we’ve been keeping a close eye on our new Itasca vines. These are young vines that were planted after the 2023 polar vortex killed off much of our Chardonnay vines. Most of the new Itasca have reached the first wire, although a few have shot right up to the top wire. Now that they’ve grown strong enough, we felt it was time to remove the protective blue vine guards and let the vines acclimate to their natural surroundings. Here’s a bit about why we use vine guards, what we look for before removing them, and how we’ll care for the vines moving forward.
Why We Use Vine Guards
Vine guards serve as essential protection during the early stages of a vine’s life. They shield young plants from a variety of threats, including pests like rabbits and herbicides used to control weeds. Importantly, the guards also help create a warmer microclimate around the vines, promoting healthy growth by concentrating heat and moisture within the guard. This is particularly helpful in our Nova Scotian climate, where young vines can benefit from the extra warmth early in the season.
What We Look for Before Removing the Guards
Before removing vine guards, we check for a few key signs to reassure ourselves that the vines are ready to stand on their own and take on the coming cool weather:
- Height and Growth: We typically wait until the vines have reached the first wire. This indicates that they have established a strong root system and are ready to continue growing without the extra protection.
- Vigour: We assess how much the vines have grown. In this case, some of the Itasca vines have even shot up to the top wire, indicating they’re healthy and perhaps a bit “leggy,” a good sign they can now thrive in natural conditions.
- Weather and Climate: The decision to remove the guards is often timed with the season. We want to ensure that the vines are acclimating when the weather is stable and not too harsh. It’s late summer now, and the weather is still warm.
Why It’s Time to Take Them Off
We’ve decided to remove the guards now for a few reasons. First, the vines have shown strong growth, reaching the first wire and beyond. At this point, keeping the guards on can inhibit air circulation, which is crucial for the vines to harden off and adapt to natural environmental conditions. Sooner or later, they need to go it on their own and we’re calling it time! By removing the guards, we’re allowing the Itasca vines to become sturdier and better prepared to withstand winds, rain, and other elements as they continue to mature.
How to Remove Vine Guards: A Step-by-Step Tutorial
Removing vine guards is an important step in helping young vines acclimate to the natural environment. Here’s a step-by-step guide to safely removing the guards without damaging the vines:
What You’ll Need:
- Gloves to protect your hands
- A sharp pair of pruning shears or scissors (optional, for tough or damaged guards)
- A bucket or bag to collect the removed guards for recycling or disposal
Step 1: Assess the Vines
Before removing the vine guards, make sure your vines are ready:
- Check the Height: The vine should have reached at least the first wire, indicating it has established a solid root system and is strong enough to grow without the guard.
- Inspect for Damage: Look for any signs of damage to the guard, such as cracks or holes, which could make removal more complicated.
Step 2: Loosen the Guard
Gently grip the vine guard at the bottom where it meets the soil. You want to ease the guard away from the vine without pulling too hard. If the guard is partially buried, use your hands or a small tool to clear away any soil that may be pressing against it.
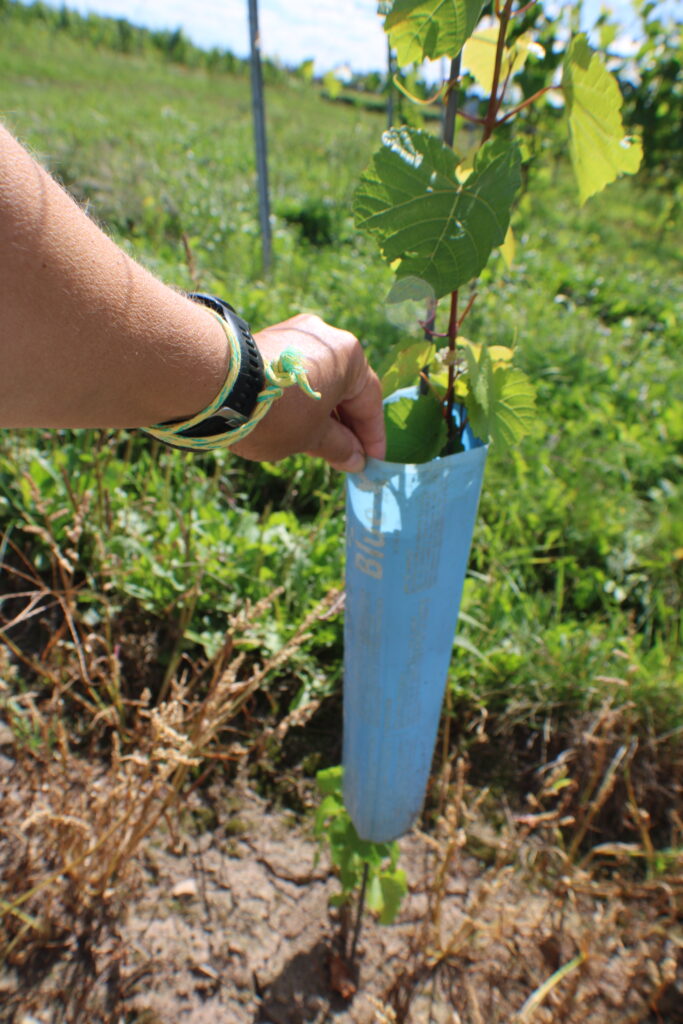
Step 3: Gently Pull the Guard Upwards
With both hands, slowly lift the guard upwards from the base, sliding it off the vine. Be careful not to yank or twist, as this could damage the delicate shoots or tendrils. If the guard feels stuck, do not force it.

Step 4: Use Pruning Shears for Tough or Damaged Guards
If the guard is damaged or too tight to remove easily, you can use a sharp pair of pruning shears or scissors to carefully cut through the plastic. Cut vertically along the guard to release it from the vine. Make sure you don’t cut too close to the vine itself.
Step 5: Inspect the Vine
Once the guard is removed, inspect the vine for any signs of stress or damage, such as broken tendrils or bruised shoots. If you find any damaged areas, use pruning shears to trim them off to encourage healthy growth.
Step 6: Recycle or Dispose of the Guards
Place the removed vine guards in your bucket or bag and decide whether they can be reused or should be recycled/disposed of. Some plastic vine guards can be used again if they are in good condition.
Step 7: Continue Monitoring
Now that the vine is free of its guard, it’s important to monitor its growth more closely. Keep an eye out for any pests or environmental factors that may affect the vine without the extra protection, and adjust your care practices accordingly.
Caring for the Soil and Vines Moving Forward
Now that the vine guards are off, our focus will shift to nurturing the vines and the soil to ensure they continue to thrive:
- Pruning and Training: We’ll keep an eye on the more leggy vines, pruning and training them to encourage balanced growth. This will help them channel energy into developing strong shoots and fruit-bearing canes rather than overly long, weak stems as we move toward winter pruning.
- Soil Health: With the guards gone, we’ll be more attentive to the soil around the vines. Regular monitoring of soil moisture and nutrient levels will help us adjust our irrigation and fertilization schedules as needed.
- Pest Management: Without the vine guards, the vines are more exposed to pests. We’ll increase our vigilance in monitoring for any signs of damage from insects or animals – the deer are fond of young shoots! – and adjust our pest management strategies accordingly.
We’re excited to see the young Itasca vines take this next step in their growth and development. Stay tuned for more updates as we continue to care for the vines and help them grow into strong, healthy producers for future harvests.
What Do You Think?
We’d love to hear from you! Have you removed vine guards from your vines or plants? Let us know your experiences and any tips you might have for helping vines acclimate after the guards come off.